
Installing and using the StreamText.Net Connector
What is the StreamText.net connector?
The connector is a Windows application developed by StreamText.Net that allows you to transmit text to our servers. It is the bridge between your computer and us.
Installing the connector
Below is a step by step guide. Make sure you understand how you will be bridging from your captioning software to the connector. The connector accepts output from a com port, tcp connection or placing your cursor into a window in the application. The best method is to use a com port for optimal performance.
Note: To update your connector just complete step 1 through 2 and it will update the current version you have installed. Make sure that the connector is closed before you start the install. You may also need to reboot after the install.
The StreamText.Net connector is a free application that is used to securely deliver realtime captions to the StreamText.Net servers. Below are the steps for installing the connector and configuring court reporter software.
- First download the connector setup file from here
https://www.dropbox.com/s/qal3xcld2bikcqz/ connector-setup-20230219.exe? dl=1 - Now run the connector setup.exe file
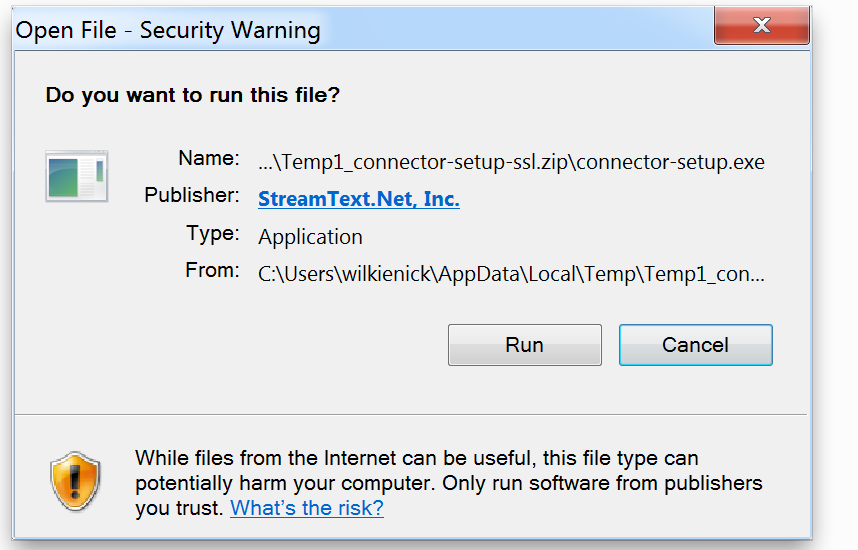
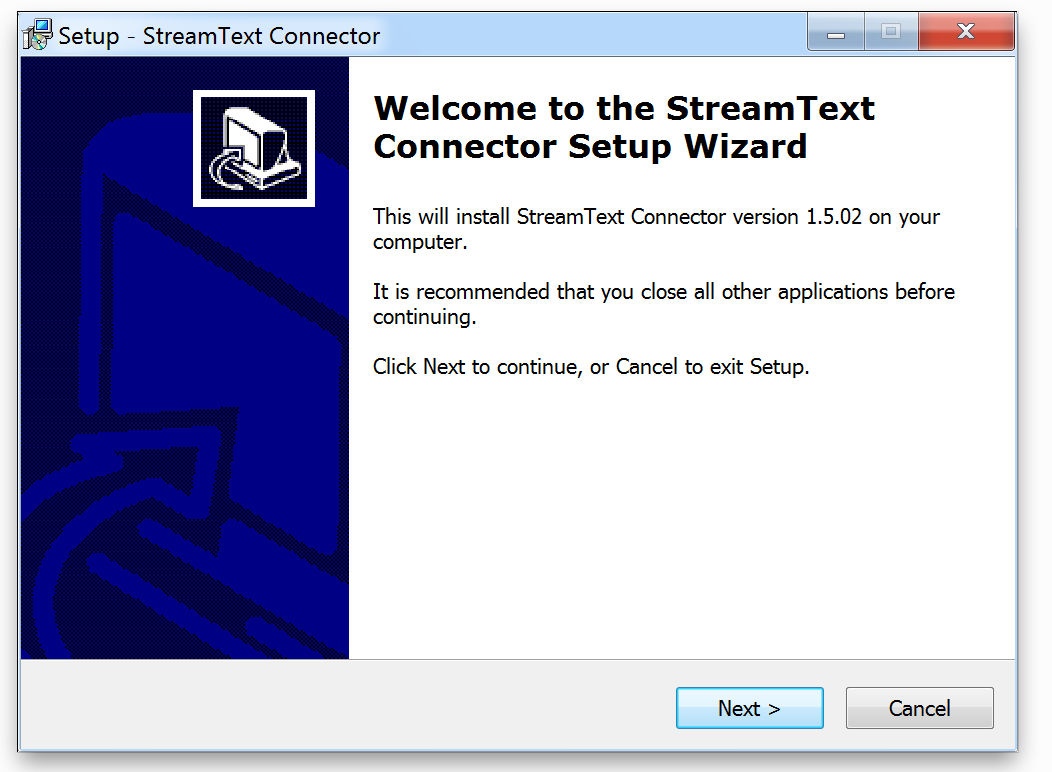
- You will then be promoted for the install wizard. Just click on "Next"
.
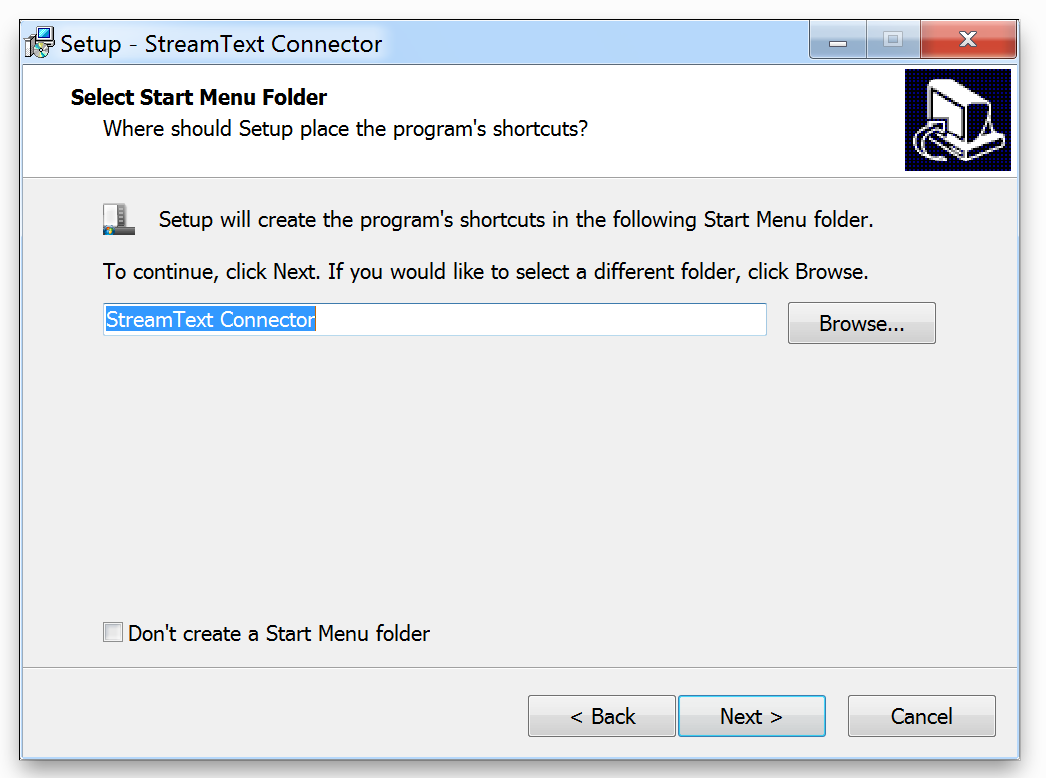
- You will be asked to create a StreamText start menu folder. Normally you will just use the default "StreamText Connector". Click Next.
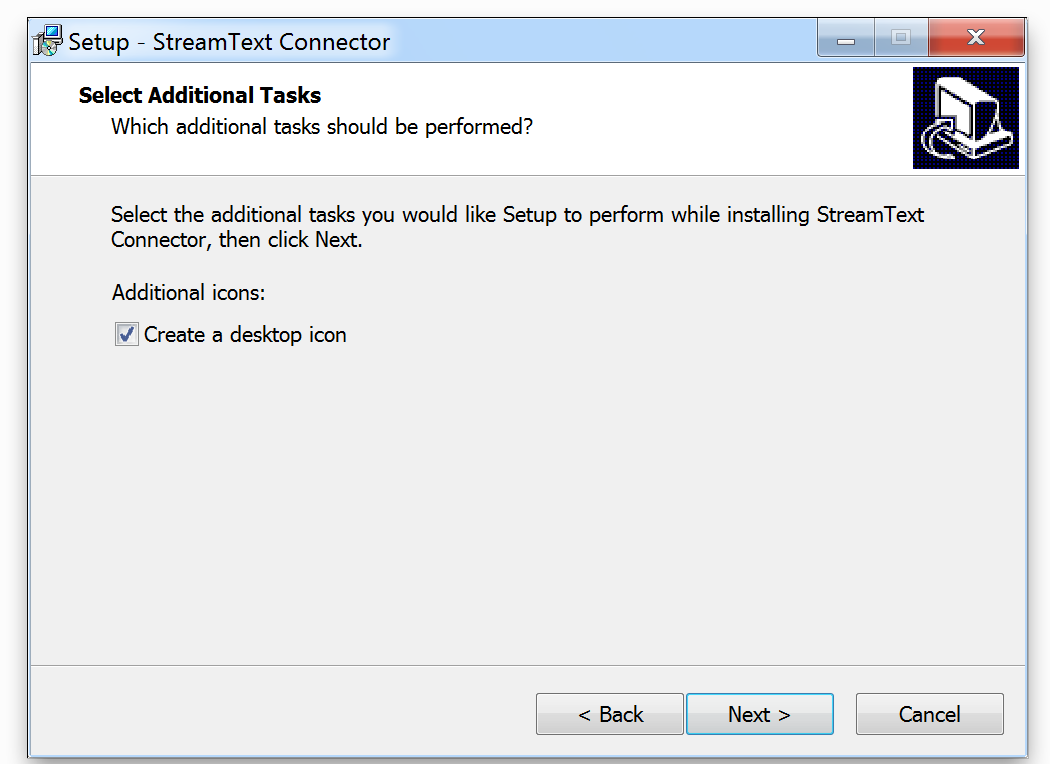
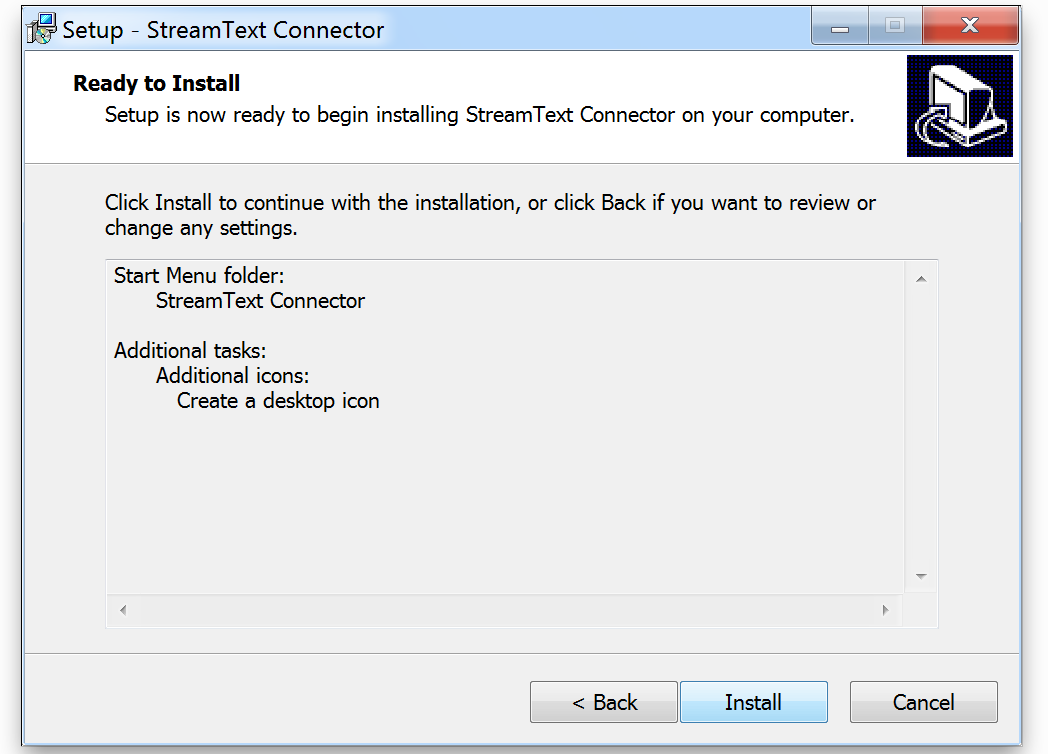
- Make a StreamText Connect shortcut on your desktop. Make sure to select the check box to create the short cut for the StreamText Connector on your desktop.
- Now start install.
- Install has completed. Click Finish. Now you will be prompted to enter your connection details into the connector. Make sure you accept the Eltima com port drivers if you get that popup.
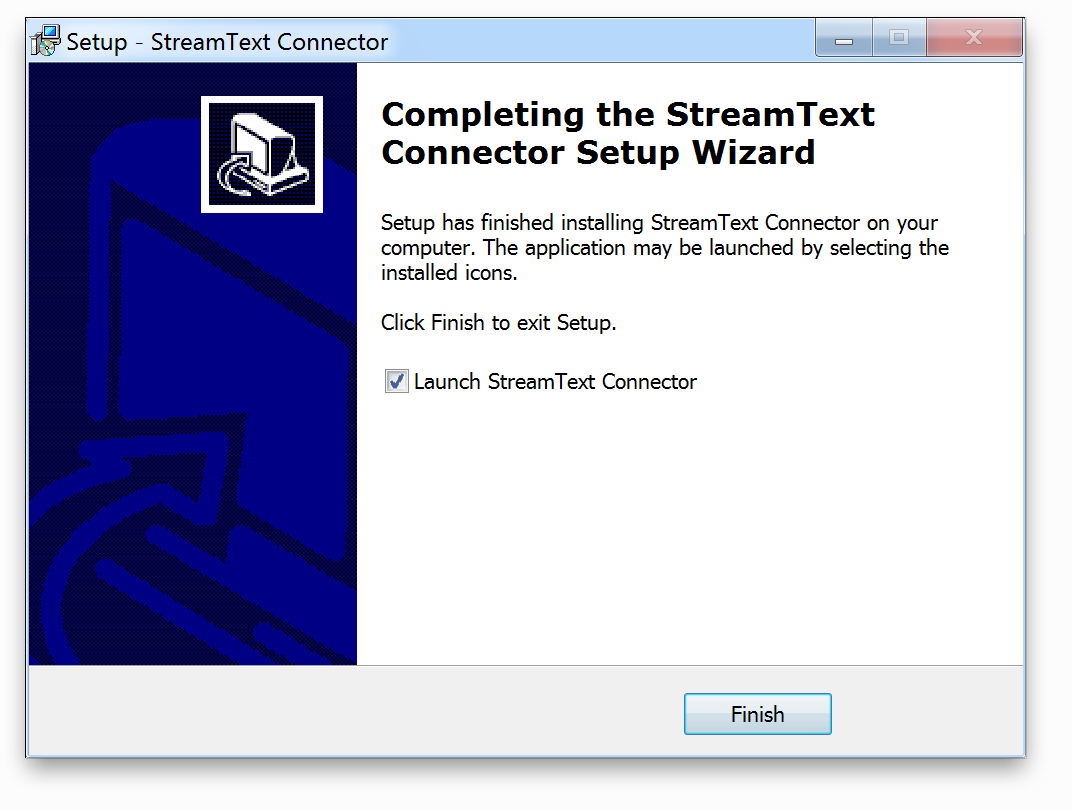
- Connection Settings - Enter your email address and password for your StreamText.Net account. The environment should be set to Live. Just Click on Sign--n
and the connector will start up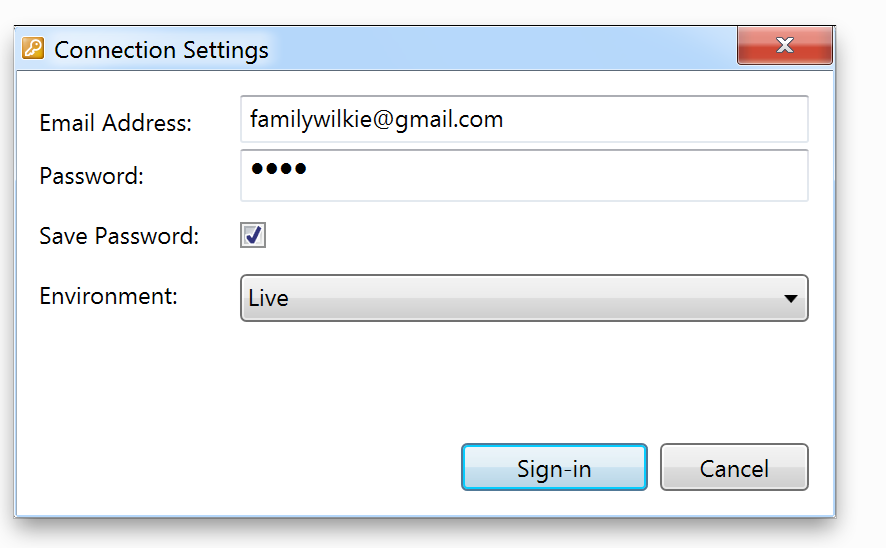
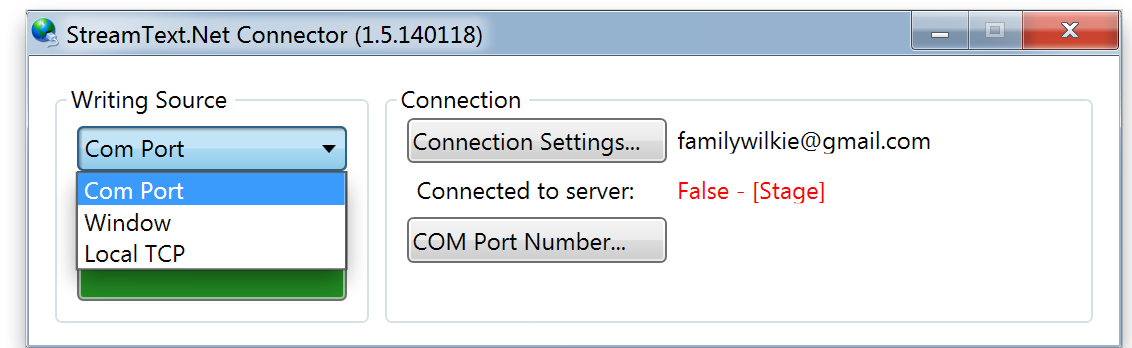
- Configure connector to "listen" on a com port for output from your reporting/writing software. First select "Com port" from the writing source drop down. See configuration section to setup. There are also instructions for writing into the window or using and ip connection below.
Configuring the connector
There are three methods you can use to stream text from your computer to StreamText.Net with the connector application. You will need to choose a method to direct your realtime output to the connector. The com port and local TCP option are preferred over the application window. The application window is used for products that cannot use any other method to redirect realtime output.
Com Port Redirect connection method
The most common is to redirect output through a com port. You will set up your realtime transcription software to output to a com port and the connector will be listening on that com port for the text. We recommend using the local tcp connection method in the next section if for some reason you cannot use com ports.
-
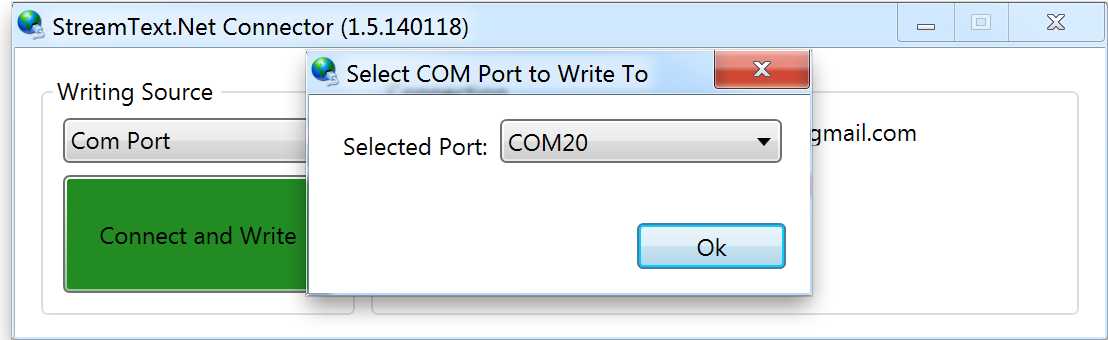
- Select Com port as the writing source.
- Next select a com port for the connector to connect with your writing software
.
- Click the "Connect and Write" button. The display will change to this. Notice the "Connect and Write" button is now "Disconnect and Stop". There are also some indicators that let you know the status of your connection. The Latency is a number used to see how long it takes to send a charter through StreamText. This should be a number around .08 but can range from 1.2 to .020 depending on your internet connection. If it is about 1.2 please contact StreamText.Net support. Bytes Sent will also let you know that data is flowing and shows how much data has been sent to our servers.
.
- Configure your reporting/transcription software to output CaseView to the com port number listed on the connector. In this case it would be com port 20. If you are on Eclipse you can also output ANSI to the com port.
- Once you have a "TRUE" and "TRUE" connection your realtime is being sent to out servers. You can now minimize the connector and write into your file. When your event is complete just close the connector.
- For a new job just make sure to follow the three steps below
- Start the StreamText Connector (The icon on your desktop with the globe and the plug)
- Click "Connect and Write" (The connector will remember all your settings)
- Start your realtime file outputting CaseView on the com port listed on the StreamText Connector
- Select Com port as the writing source.
Local TCP connection method
The local TCP connection option allows you to communicate with the StreamText.Net connector using a TCP instead of redirecting your output to a virtual com port. This is easier to manage than a com port connection and requires less processing overhead than virtual com ports. Not all writing software supports this option. If you have this option it will be available where you select the realtime output.
- Start the StreamText.Net Connector
- If it prompts you to update make sure you click yes
- Select Local TCP under writing source
- Click on Connect and Write
- To verify that you are connected to StreamText the Connected to should be a green True.
- If not True you need to check your loggin and password. You can verify that they are correct by login in to www.streamtext.net
- If that is not the case make sure your firewall is letting the streamtext connector access the Internet
- If that does not work please check your Internet connection
- Notice that the Local TCP Connected will still be False until you start your realtime transcription software
- Start your realtime transcription software
- Set your output to TCP - If you have that option not all writing software does
- The IP address is 127.0.0.1 and the port is 4000. You will set these usually after you select the TCP realtime output option in your application
- Start your realtime file
- If correct the Local TCP Connected will now be True
Application Window connection option
The application window takes any text that is entered and streams that to the StreamText servers. We only recommend this method if you cannot output to a com port with your application.
- Start the StreamText Connector
- If it prompts you to update make sure you click yes
- Select 'Window' from the writing source dropdown
- Make sure you have the correct sign in under connection settings
- Click on Connect and Write
- To verify that you are connected the Connected to server should be True
- If not True you need to check your login and password. You can verify that they are correct by login in to www.streamtext.net
- If that is not the case make sure your firewall is letting the streamtext connector access the Internet
- If that does not work check your Internet connection
- You can not stream through StreamText.net and to view just set up an event by logging into www.streamtext.net if you have not already.
0 Comments